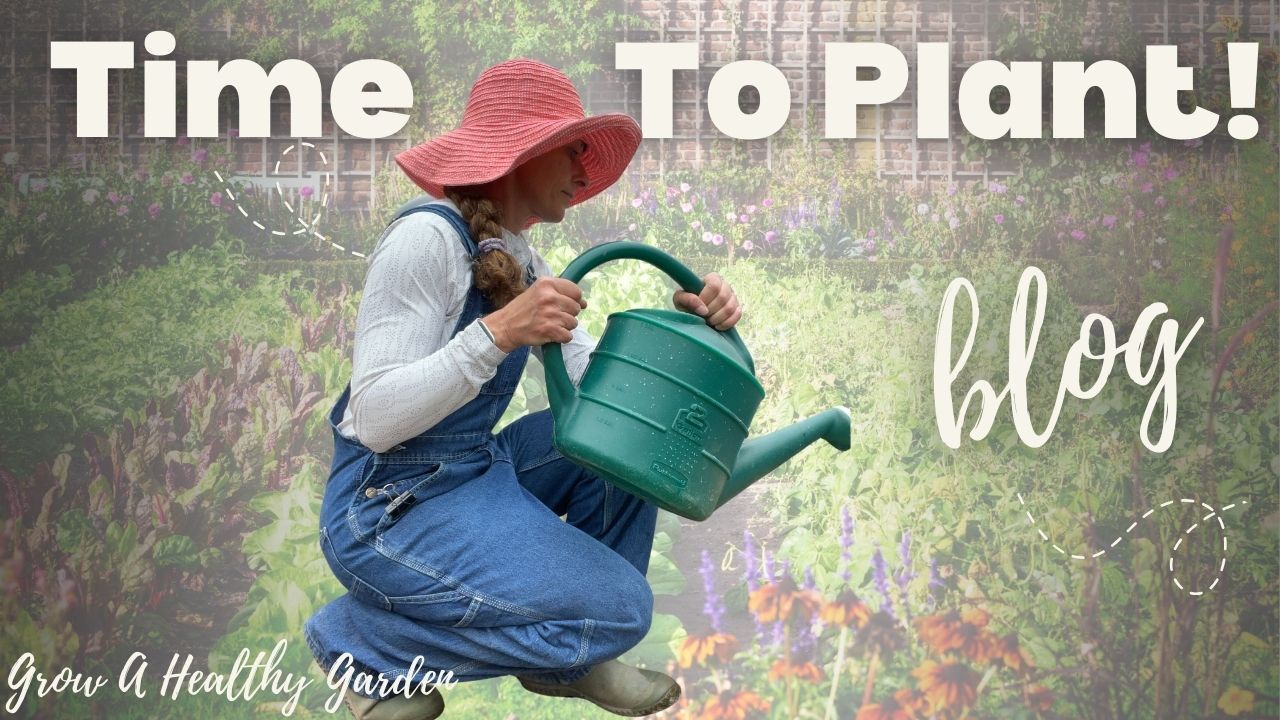
How To Get Planting!
Apr 27, 2025
Last month, we talked about prepping and planning for the garden season ahead (CLICK HERE if you missed that blog). Now, it’s time for the fun part: getting those plants into the ground! But before you grab your trowel, there are a few important things to know that will set your garden up for success.
Understand Your Spacing and Depth
One of the biggest mistakes new (and even experienced!) gardeners make is planting too closely or too shallow. Every vegetable has different needs, and understanding them will help you grow healthier, more productive plants.
Here’s a quick guide for the Top 5 popular veggies:
-
Tomatoes: Plant deep! Unlike most vegetables, tomatoes can be buried up to their first set of leaves. Their stems will grow roots wherever they are buried, leading to a stronger, more stable plant.
-
Peppers: Plant them at the same depth they were in their seedling pots — not deeper.
-
Cucumbers: Seeds or transplants should be planted about 1 inch deep, and cucumbers need plenty of space — at least 12–18 inches apart.
-
Zucchini/Squash: These plants need extra space to thrive! I suggest planting them 2–3 feet apart, ideally at the corners of your garden beds. This way, they can sprawl over the edges and onto the ground, leaving more room for other plants to grow inside the bed.
-
Lettuce: Lettuce prefers to be planted shallow — barely cover the seeds or transplant so that the crown (the point where stem and roots meet) stays above soil level.
Tip: Always check your seed packet or seedling tag for specific spacing and depth instructions!
My Simple Bed Prep Secret
People often ask me what I use to get my beds ready for planting — and my answer is simple and organic.
I amend my beds with Fancy Chicken Organic Pellets — a fantastic, natural fertilizer that gives plants a great nutrient boost without any chemical additives.
👉 Grab your Fancy Chicken Pellets here.
When it’s time to plant, I don’t overcomplicate it.
In each planting hole, I just sprinkle a little earthworm castings. It's like a slow-release multivitamin for your plants, right where they need it most.
That's it! No heavy mixing, no synthetic products. Just healthy, living soil.
If You Grew Your Own Seedlings…
If you started your seeds indoors (yay, you!), don’t forget one critical step before planting them outside:
HARDEN THEM OFF!
Hardening off is the process of gradually introducing your seedlings to the outdoor environment — wind, sun, temperature changes — so they don’t go into shock.
If you need help, watch my step-by-step video here:
🎥 How To Harden Off Your Seedlings
Timing Matters: Know Your Last Frost Date
Before you start planting everything, make sure you know when your region's last expected frost date is.
-
Some cold-hardy veggies (like peas, spinach, and kale) can be planted before the last frost.
-
But many warm-weather crops (like tomatoes, peppers, cucumbers, and squash) need to wait until after the risk of frost has passed.
Planting too early can set your garden back significantly, or even kill your tender plants. Patience pays off!
Freebie! Your Ultimate Planting Guide 🌱
To make it even easier for you this season, I've created a FREE Planting Guide for you:
👉 Top 15 Veggies & Top 10 Flowers: What You Can Plant Before & After the Last Frost
This simple chart will show you:
-
Which plants are frost-tolerant and can be started early
-
Which plants should wait until it’s warm
-
Bonus tips for planting success!
📩 Click here to download your free When To Get Planting Guide here!
Get your beds prepped, your seedlings hardened off, and your trowel ready — because a beautiful, productive garden season is just around the corner!
Looking for more guidance in your garden journey? Join the Garden School Online Course! You can start anytime and learn everything from planning and prepping to planting, harvesting, and more! CLICK HERE for details.
Happy planting, friends! 🌿🌼

